Master These 6 Potato Growth Stages for a Bumper Harvest
Published: 31 Oct 2025
Introduction: Why Potato Growth Stages Matter
Potatoes are one of the most rewarding crops for home gardeners and commercial growers alike. They are versatile, nutrient-rich and relatively easy to grow. However, many growers fail to recognize the six critical stages of potato development. Because of this, yields may be reduced and tuber quality may suffer.
To achieve a bumper harvest, each growth stage must be understood and supported. From sprouting to senescence, potatoes follow a predictable timeline. Therefore, this guide reveals the six essential potato growth stages and explains how to optimize each one.
High-volume keywords such as potato growth stages, how to grow potatoes, potato planting timeline, potato tuber development, and potato harvest tips are used throughout this article. These terms improve search visibility and provide actionable insights for growers.
Stage 1: Sprouting – The Beginning of Life
The potato life cycle begins with sprouting. This stage transforms a dormant tuber into a living plant. Although it seems simple, sprouting requires specific conditions. Warmth, moisture and light must be present.
- Seed potatoes should be placed in a bright room at 60°F to 70°F. Eyes will begin to swell and produce shoots. This process, known as chitting, improves early growth and reduces disease risk. Sprouts should be firm and green or purple.
- Cutting seed potatoes into chunks with at least one eye is common. These pieces must be dried for 24 hours before planting. This prevents rot and promotes healthy root development.
- Because sprouting sets the foundation for the entire crop, care must be consistent. Monitoring temperature and light ensures uniform emergence.
Stage 2: Vegetative Growth – Building the Canopy
Once planted, potatoes enter the vegetative stage. Shoots emerge from the soil and begin forming leaves and stems. This phase focuses on building a strong canopy to support future tuber development.
Watering should be regular but not excessive. Soil must remain moist and well-drained. Mulch helps retain moisture and suppress weeds. Fertilizer with nitrogen supports leafy growth.
Although growth appears rapid, patience is required. Plants must be protected from pests like flea beetles and aphids. Organic sprays and companion planting help reduce infestations.
Hilling is introduced during this stage. Soil is mounded around the base of the plant to protect developing tubers. This also improves drainage and prevents greening.
Because vegetative growth determines tuber potential, attention to light, water and nutrients is essential.
Stage 3: Tuber Initiation – The Hidden Shift
Tuber initiation marks the transition from foliage to underground development. This stage begins when stolons (underground stems) form and swell. Although invisible above ground, this phase is critical.
Cool temperatures between 60°F and 70°F promote tuber formation. Excess heat may delay or reduce yield. Watering must be consistent to prevent stress. Fertilizer should be adjusted to reduce nitrogen and increase potassium.
Flowering often coincides with tuber initiation. Although flowers are not required for tuber growth, they indicate active development. Removing flowers is optional but may redirect energy to the roots.
Because tuber initiation is sensitive, stress must be minimized. Monitoring soil moisture and temperature ensures healthy formation.
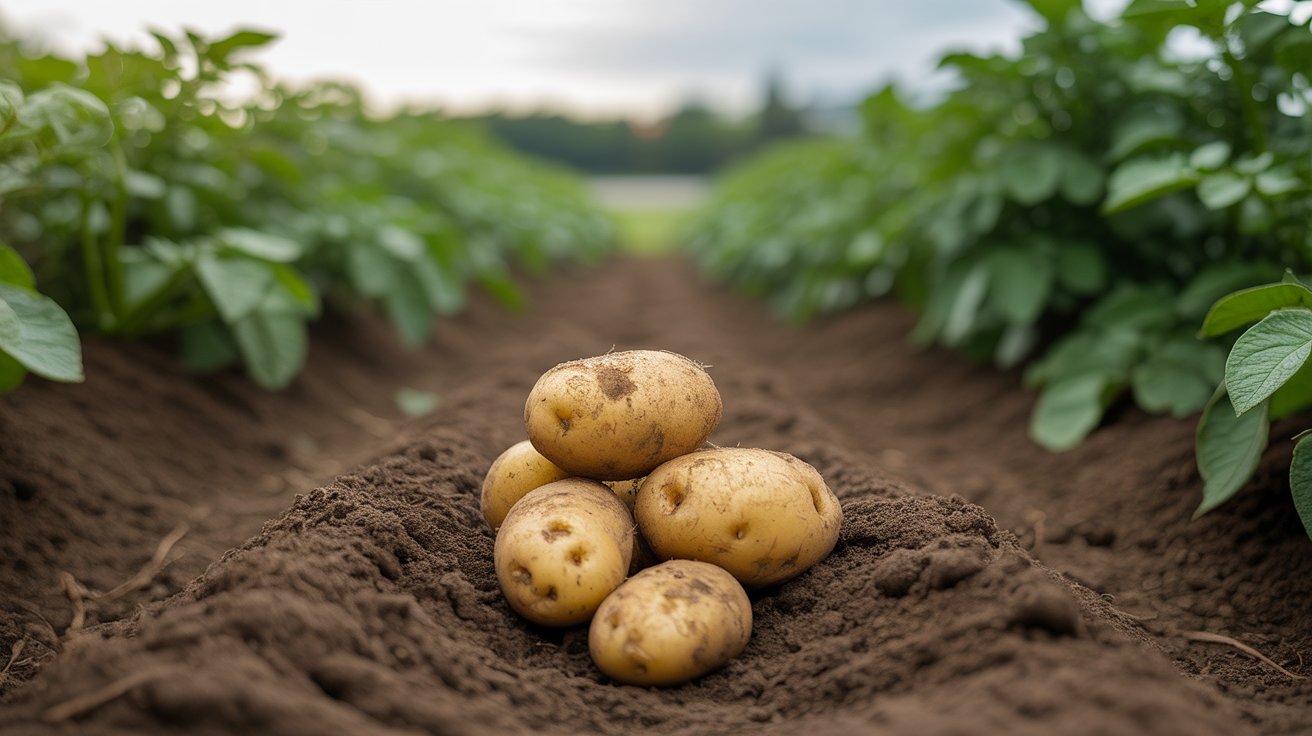
Stage 4: Tuber Bulking – Expanding the Harvest
Tuber bulking is the stage where potatoes begin to gain size and weight. During this phase, the plant channels energy from photosynthesis into the developing tubers. Because this is the most productive stage, optimal care is essential.
Watering must be consistent. Soil should remain evenly moist but never waterlogged. Inconsistent moisture can lead to issues like hollow heart or cracking. Mulching helps regulate soil temperature and retain water.
Fertilizer should be adjusted to support tuber growth. A low-nitrogen, high-potassium blend is ideal. Excess nitrogen at this stage may promote foliage at the expense of tubers.
Although the plant may still flower, energy should be focused below ground. Removing late blooms is optional but may improve tuber size. Because tuber bulking determines final yield, stress must be minimized.
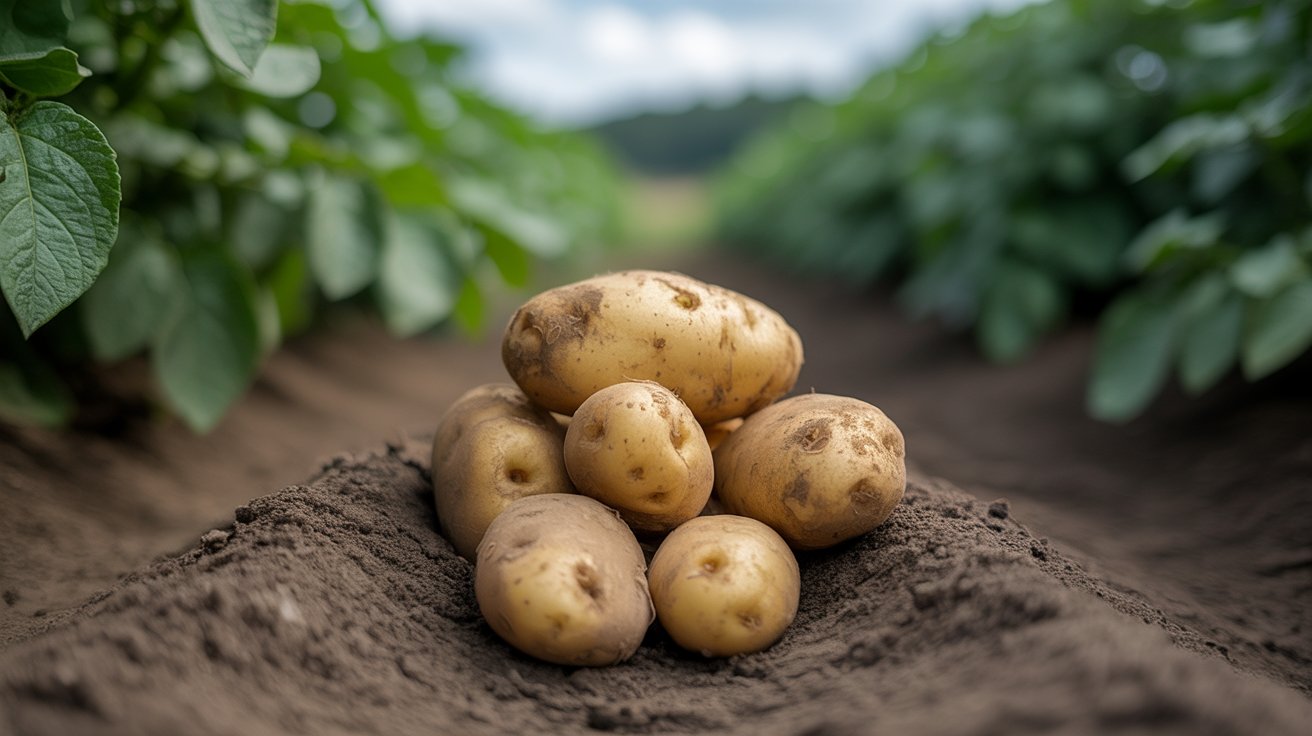
Stage 5: Maturation – Preparing for Harvest
As the plant matures, tuber growth slows and skin thickens. This stage prepares potatoes for harvest and storage. Although foliage may begin to yellow, this is a natural sign of senescence.
- Watering should be reduced gradually. This encourages skin set and reduces the risk of rot. Fertilizer is no longer needed. Soil should be kept dry during the final weeks.
- Foliage may be cut back once it dies naturally. This signals that tubers have reached full maturity. Waiting 10 to 14 days after cutting allows skins to cure underground.
- Because mature skins resist damage, harvesting becomes easier. Timing is critical. Harvesting too early reduces shelf life. Waiting too long may lead to sprouting or pest damage
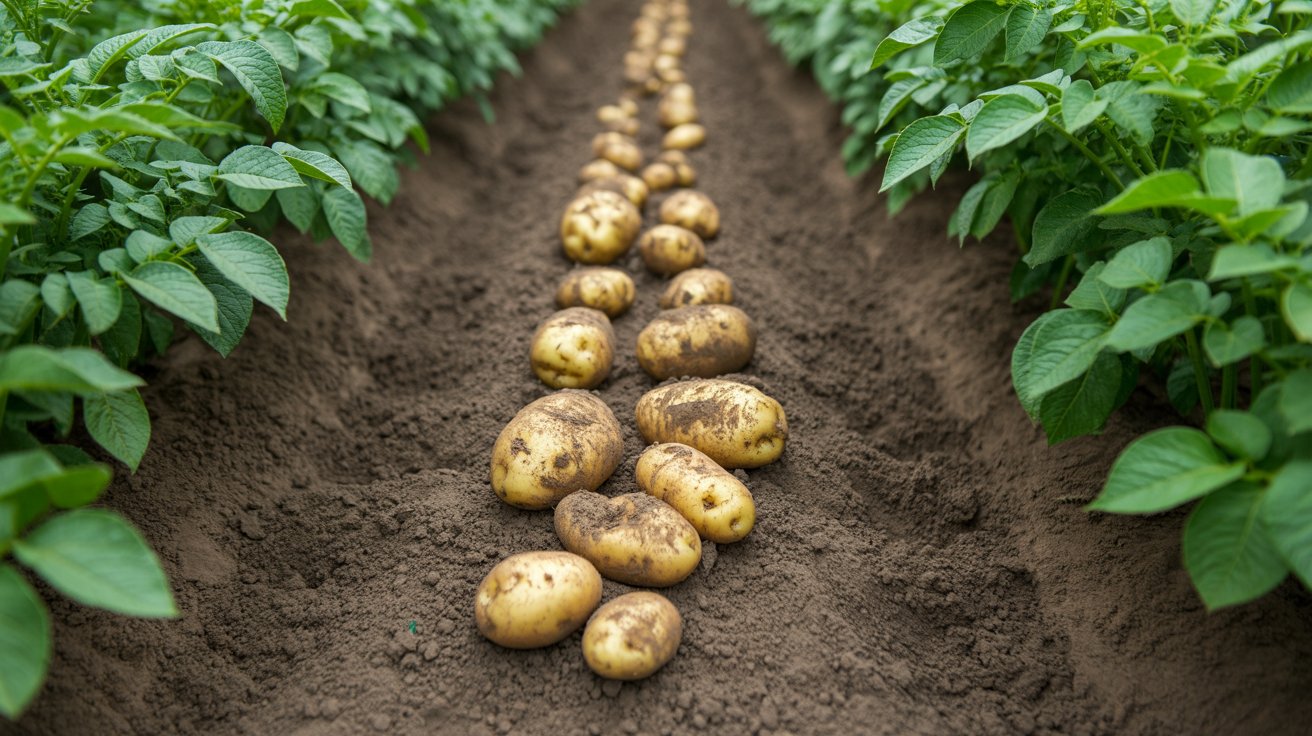
Stage 6: Senescence – The End of the Cycle
Senescence is the final stage of the potato life cycle. The plant stops growing and foliage dies back completely. This signals that the crop is ready for harvest.
Although this stage appears inactive, important changes occur underground. Skins continue to thicken and starch levels stabilize. These changes improve storage quality and reduce bruising.
Harvesting should be done on a dry day. Soil should be loosened gently to avoid damaging tubers. Potatoes should be brushed clean but not washed. Moisture may promote rot during storage.
Curing is essential. Tubers should be kept in a dark, well-ventilated area at 50°F to 60°F for 10 days. This heals minor wounds and extends shelf life.
Because senescence completes the cycle, proper handling ensures a successful harvest.
Even with proper care, potatoes may face challenges. Common issues include:
- Green Potatoes: Caused by sun exposure. Hilling and mulch prevent greening.
- Scab: Affects skin texture. Maintaining soil pH below 5.5 helps prevent it.
- Hollow Heart: Caused by rapid growth or inconsistent watering. Steady moisture prevents this issue.
- Blight: A fungal disease that affects leaves and tubers. Crop rotation and resistant varieties reduce risk.
- Cracked Tubers: Result from irregular watering. Consistent moisture is key.
Although these
FAQ: Potato Growth and Harvest Guide
Most potato varieties mature in 70 to 120 days depending on type and climate.
Plant 2 to 4 weeks before the last expected frost. Soil should be at least 45°F.
When foliage dies back and skins are firm, potatoes are ready. Wait 10 days after cutting tops.
Yes. Use a deep container with drainage. Hilling is still necessary for tuber development.
Poor soil, lack of nutrients or early harvest may cause small tubers. Improve care and timing.
Sunlight exposure turns tubers green and toxic. Hill soil and cover tubers to prevent this.
Water 1 to 2 inches per week. Keep soil evenly moist especially during tuber bulking.
It’s not recommended. Soil may harbor disease. Rotate crops and refresh soil each season.


- Be Respectful
- Stay Relevant
- Stay Positive
- True Feedback
- Encourage Discussion
- Avoid Spamming
- No Fake News
- Don't Copy-Paste
- No Personal Attacks
- Be Respectful
- Stay Relevant
- Stay Positive
- True Feedback
- Encourage Discussion
- Avoid Spamming
- No Fake News
- Don't Copy-Paste
- No Personal Attacks
